
Double-Cut Hand Files and Single-Cut Mill Files
For the 8-inch size, our double-cut hand file table lists 200 × 19.2 × 4.3 mm. The flat single-cut mill file table lists 200 × 19.7 × 3.2 mm at the same nominal length. Compare rough shaping and final finishing separately on the same stock so the cut and physical dimensions are both part of the decision.
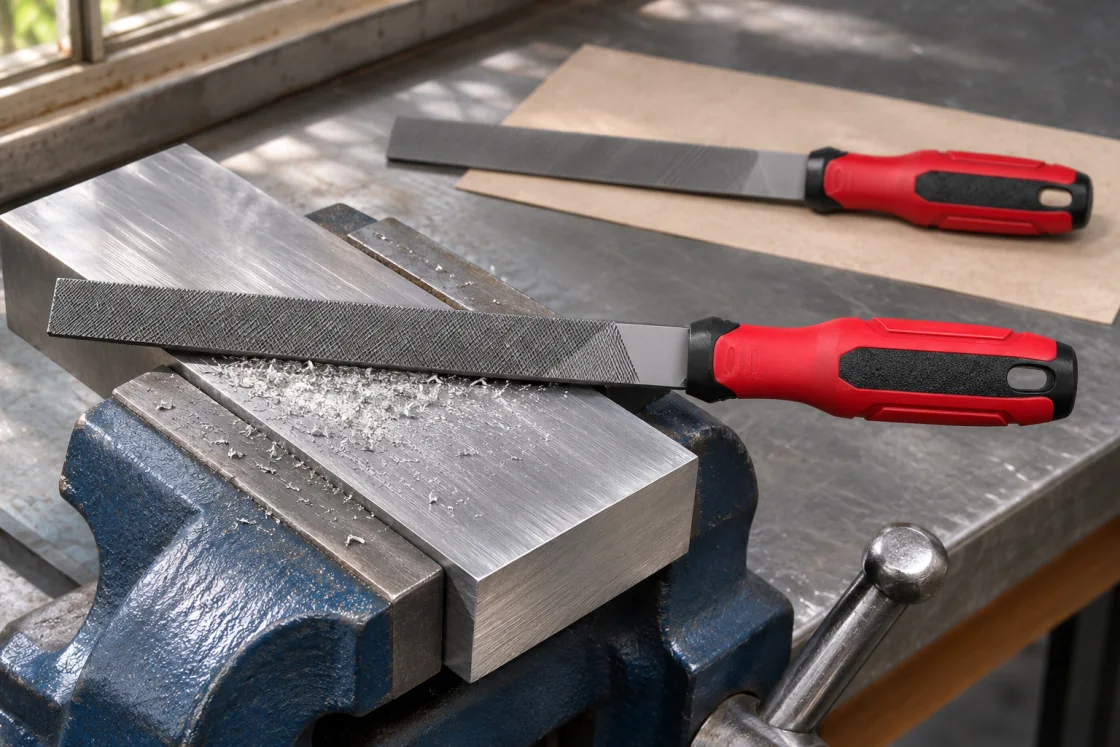
Double-Cut and Single-Cut Catalogue Examples
The cut pattern and section describe different properties of the tool. The hand file reference manual describes light-pressure finishing uses for single-cut files and heavier stock removal as a typical double-cut use.
| Tool | Listed construction and example size | Sample role |
|---|---|---|
| Double-cut carbon steel hand file | 8 in example, 200 × 19.2 × 4.3 mm | Compare removal and control on the roughing stage |
| Single-cut mill file | 8 in example, 200 × 19.7 × 3.2 mm | Compare burr removal and the finish on steel or iron |
| Mill file, other stated lengths | 6, 10 and 12 in alongside 8 in | Confirm usable reach and cross-section on the chosen length |
Double-Cut Teeth for the First Sample
Our double-cut hand file is the catalogue starting point for a rough shaping trial. Choose a length you can control on the area you have, then compare the contact and removal with an actual offcut or first-piece sample.
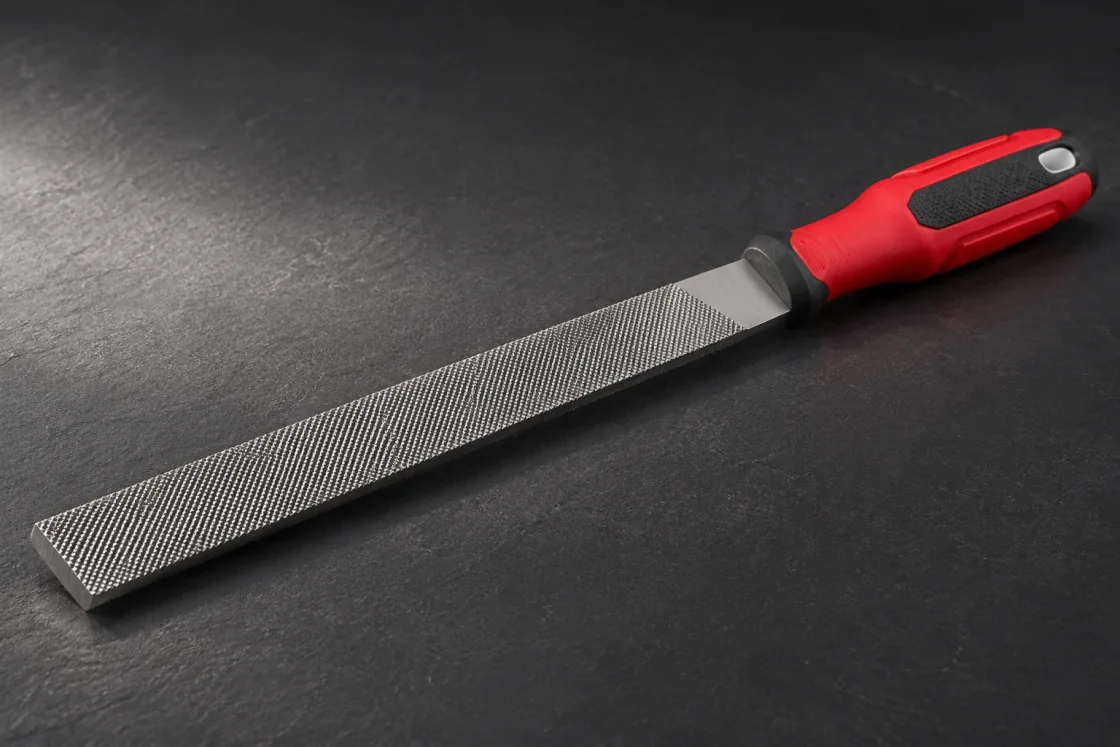
Roughing and Final-Finish Acceptance
Use the same material and a representative fixture for both samples. Record a measurable remaining allowance for the rough stage and a separate target for the finished edge. Where your drawing specifies finish roughness, identify the measurement and acceptance conditions.
- Stock
- Same metal and comparable starting shape
- Stage one
- Remaining allowance and edge shape
- Stage two
- Visible marks, burr condition and any agreed roughness measurement
A Single-Cut Mill File for the Final Pass
Our flat single-cut mill file lists 6, 8, 10 and 12-inch lengths and steel or iron applications. Match the length and tooth contact to the part, then check the result before you standardize the finishing tool.
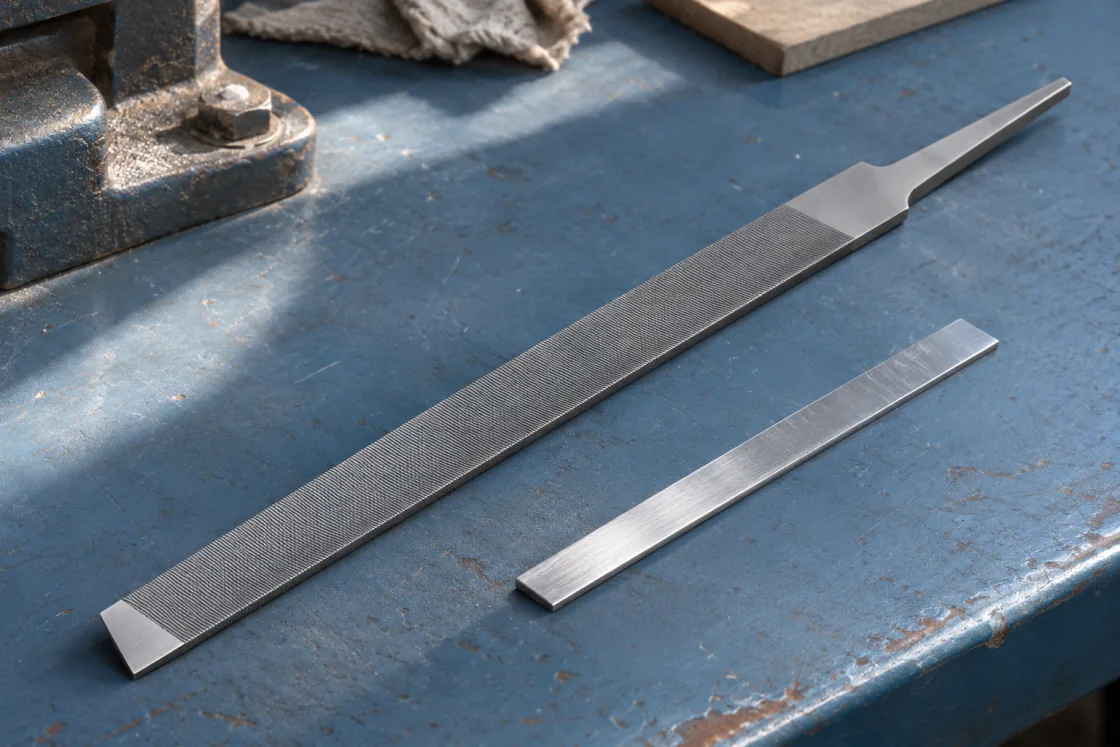
A Two-File Trial Under Comparable Conditions
Use stock from the same job. Record the first stage, then compare the final surface against the sample or specification your team accepts. Let that result drive the order, including the file lengths and grips.
- Start
- Record material and allowance
- Shape
- Check progress with the roughing file
- Finish
- Compare final edge against your target
Write Two Line Items for the Workshop
At the same nominal length, the listed mill file is wider and thinner than the double-cut example. Call out both the physical size and the tooth pattern on separate lines. For aluminium, copper and brass, go to the non-ferrous file comparison.
- Rough line
- Double cut, selected size and handle
- Finish line
- Single cut, selected size and workpiece
- Approval
- Same test material and agreed result
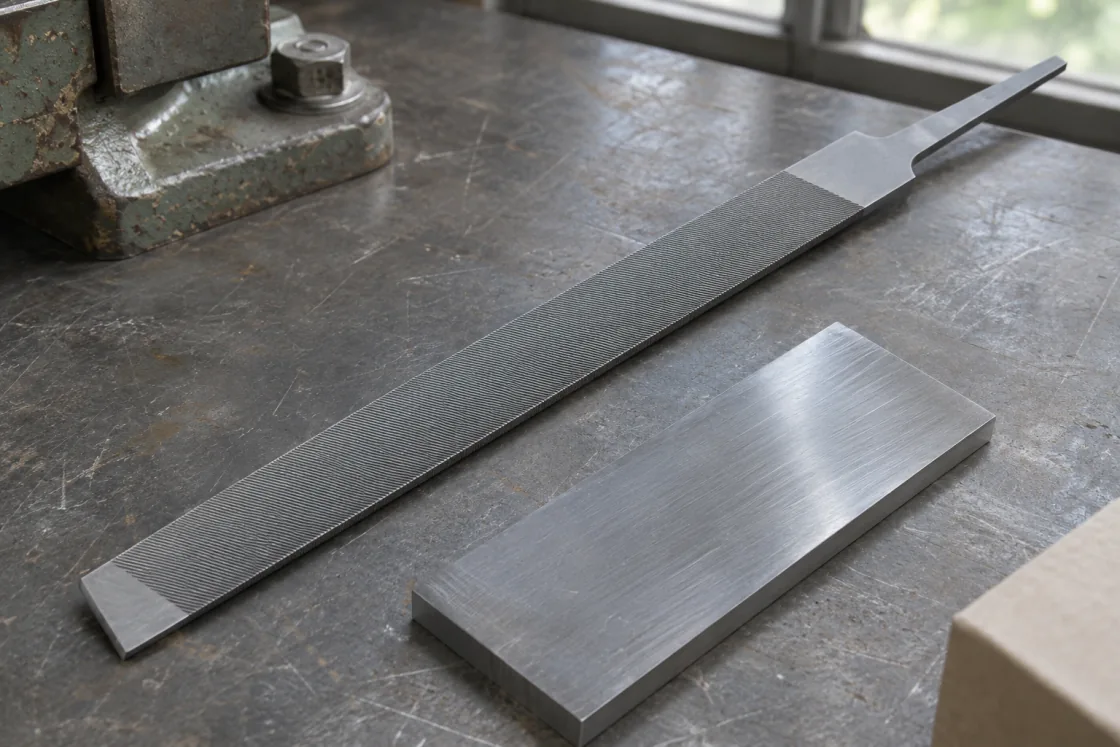
A Flat Workpiece for the Finish Check
View the final edge and surface in a consistent light. A photo of the finish and the tool can help communicate what you accepted, while a measured number is useful when your job has a formal finish requirement.
Profile and Material Adjustments
A tight slot or curved face may change the profile you should compare. Softer non-ferrous materials may benefit from a separately chosen cut. Keep the same task information when you move to those comparisons.
- Geometry
- metal file profiles by workpiece
- Non-ferrous work
- files for aluminium, copper and brass
A Roughing and Finishing Sample Order
Send the workpiece material, expected removal and the surface the last pass needs to leave. We can discuss both file lines on the same inquiry.